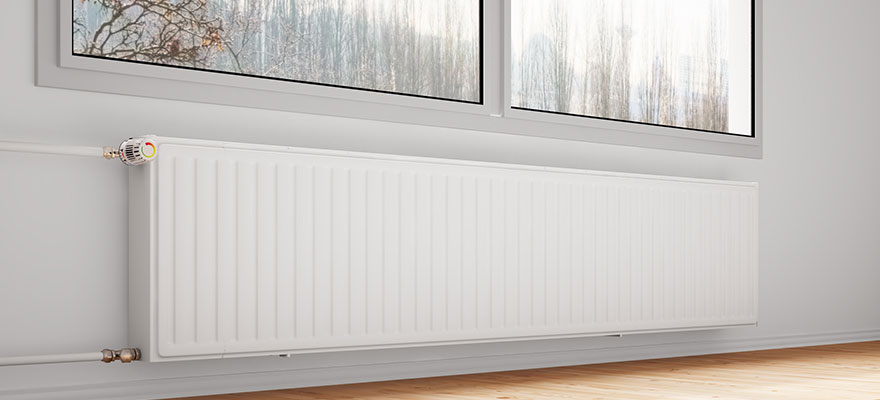
It’s no secret that a good boiler is the heart of the home’s central heating system. However, even the best boiler in the world wouldn’t be able to properly heat your home if your radiators are not in good shape. While they’re pretty low maintenance, radiators do require some care from time to time to make sure they’re at their optimal state. If you’ve discovered that your radiators are not heating up properly or that they’re cold at the bottom, it’s more than likely they’re not in their tip-top shape and will require some TLC to function their best. Don’t worry, in most cases, solving this common radiator problem doesn’t take a lot of time or expertise; in fact, if you follow our step-by-step guide, we guarantee you’ll fix your central heating setup in no time!
Why is Your Radiator Cold At The Bottom But Hot At The Top?
We all know that heat – or rather hot air – rises, so having a radiator that’s cold at the bottom but hot at the top is typically not something that many people worry about. However, when it comes to radiators, this is not how they should be when they’re functioning their best. In fact, if you often find that your radiators are quite cool to touch at the bottom, it’s more than likely your central heating system is not working as efficiently and effectively as it could be. This also means that you’re paying more for heating than you actually have to.
But what causes cold radiators? In most cases, it’s sludge. While it sounds disgusting, radiator sludge is nothing abnormal – in fact, most central heating systems will sooner or later suffer from a build-up of sludge, which is simply an accumulation of dirty hot water, limescale and rust. But exactly why and how does radiator sludge form in the first place? To answer this question, you have to understand how radiators work.
Understanding How Radiators Work
To heat your home, your boiler draws cold water from the mains water supply, heating it and sending it through a loop of pipework, including your radiators. Water flows either by natural circulation or by a pump. When it cools down, this same water ends up back in the boiler, which re-heats and resends it to the pipework and radiators. Here, hot water flows through various channels that keep it circulating both upwards and sideways, and finally downwards to the exit pipe. This way, the whole surface of the radiator is covered with moving hot water, enabling it to remain hot throughout its whole body.
Of course, things function a bit differently if the thermostat temperature is reached or you switch off your boiler. In this case, the pump stops working, preventing hot water from flowing through the pipework, and causing the radiators to cool down. So, if you notice that your radiator is cold at the bottom, this can only mean one thing: the flow of hot water is somehow restricted from reaching the whole body of the radiator.
How Radiator Sludge Develops
As mentioned, in most cases, the culprit for the cold patches on your radiator is the accumulation of sludge. Some radiator sludge build-up is practically inevitable from time to time simply because the radiators themselves are made of steel or iron, meaning tiny iron compounds such as magnetite and heamatite are bound to be created and transferred into the water as it flows through the radiators. Aside from this, limescale can also play a part in sludge buildup. And once a small accumulation has started within a radiator’s internal workings, more and more of this material will easily add to it, multiplying and causing a serious sludge and grime build-up.
Because of its weight, sludge can only be found at the bottom of the radiator, hence why radiators are typically colder at the bottom than on the top. Unfortunately, the water pressure within the radiators alone is not enough to clear up the build-up, which is why it’s so easy for sludge to slowly but surely accumulate over time, eventually leading to actual blockages within the radiators. The good news is, there’s plenty you can do to fix, and better yet, prevent this problem.
Fixing Radiators That Are Cold At The Bottom
Fixing radiators that feel cooler at the bottom may not be the easiest task in the world, but if you’re an experienced DIYer, you don’t have to call a heating engineer or a plumber – you can fix this problem yourself! To cut to the chase, there are three ways you can solve the cold radiator issue: manual, power, and chemical flush. Let’s go over each technique so you can decide which one is best suited to your needs.
Manual Flush
If only one of your radiators is affected, a manual flush may be the only thing you need to do to bring it back to its original state. Bear in mind that this solution is not recommended if you don’t have at least some DIY experience and you don’t have a backyard or a water hose. Manual flushing can get really messy if you don’t know what you’re doing! With that said, if you’re a confident DIYer, here is a simple step-by-step guide to manually flushing your radiator.
- Firstly, isolate the radiator with cold spots and turn down the thermostatic radiator valve to zero (if your radiator has it). At the other end, there will be another valve probably covered with a plastic cap – this is a lockshield valve which you should close using a spanner. Keep in mind that you’ll only need around a quarter and half a turn to close it – this is how much you’ll have to open it later once you’re done flushing the radiator.
- Get some old towels or rags and a couple of large plastic bowls or a bucket. Place the towels underneath the connector nuts and put a bucket on top of the towels – this will prevent any water spillage.
- Open up the bleed valve (which is at the top of the radiator) using a bleed key. This will allow air to start flowing into the radiator, forcing water to start pouring out near the loosened nuts. There will probably be quite a bit of water so get that large bucket ready (you might even need two).
- Once the water has completely drained, undo the valves and remove the radiator from its brackets.
- Take the radiator outside and attach a water hose to one end. Blast water through the radiator for good 5 minutes, or until it flows clean. To be sure you’ve properly flushed the radiator, try the hose in different openings.
- Once you’re done flushing the radiator, take it back inside the house and re-attached it to its brackets. Don’t forget to re-attach the pipes at the nuts as well, and turn both valves back to their original positions. Water will start refilling the radiator at this point so get your bleed key ready and close the bleed valve as soon as you see water squirting from it. You’re done!
Note: if you have a conventional feed and expansion system, it will re-pressurise itself. If you have a pressurised system, however, you’ll have to add more water to the loop to increase the pressure.
Power Flush
A power flush is quite similar to a manual flush, only you’re not required to take your radiator outside. Also, if you opt for a power flush, you need to clean all the radiators instead of just one. The problem with this solution is that to it properly you really have to know what you’re doing; in other words, you need to be a professional. While it’s possible to do this on your own if you have specialist equipment, it’s a very tricky task that can cause a lot of mess. For this reason, we recommend hiring a professional plumber and not experimenting yourself.
A power flush is recommended if most or all of your radiators are either cold at the top and/or bottom or they just have lots of cold patches. However, it’s not recommended if you have old pipework as highly pressurised water can cause tiny cracks in fragile pipes, causing more harm than good.
Chemical Flush
If neither power nor manual flush seems suitable for your heating system, a chemical flush (also known as a hot flush) may be the solution. This option works similarly to a drain cleaner – you simply add a chemical cleaner specifically designed for heating systems to your boiler’s system pipework and radiators and let it do its job: break down sludge and limescale. After the cleaner has done its job, it needs to be flushed out and replaced with water. In some cases, the cleaner can be left for a few days inside the system, but this is only advisable if you’re dealing with significant central heating sludge. In any case, once the cleaner breaks down the grime, it needs to be replaced with water.
This option is best left to a professional such as a heating engineer.
Related Posts: Best Oil Filled Radiators and Best Electric Heaters
Preventing Your Radiators From Getting Cold At The Bottom
As always, prevention is better than cure, and sludge-prevention is no exception. Here are some ways you can prevent the cold radiator problem:
- Install a magnetic filter: a magnetic boiler filter can be installed in any heating system. It attracts rust and other metallic debris, preventing blockages.
- Use scale reducer: in hard water areas, using a scale reducer from time to time can help prevent the heating system from developing limescale blockages.
- Add inhibitor to the system: another chemical solution you can use is a central heating system inhibitor. This solution prevents metal from rusting by coating the system and keeping the water running through smoothly.
Related Post: Do Radiator Covers Block Heat?